 Mind Forge AI
AI Headshot Generator for Professional Profiles
Create a professional portrait concept from a reference photo with adjusted lighting, clothing and background.
Choose a preset and optionally add instructions, or describe your own effect in Custom mode.
Reference images (optional)
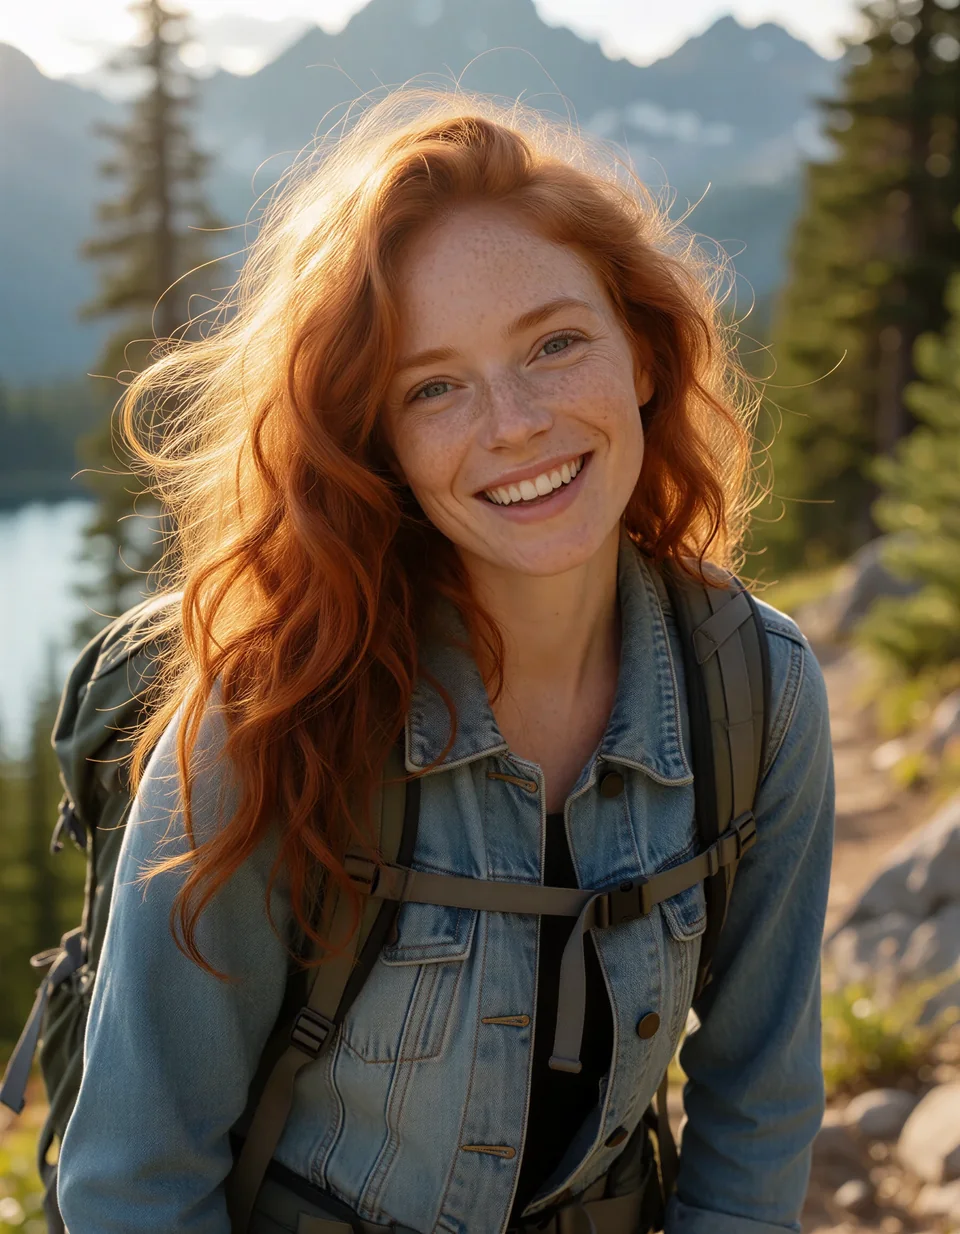
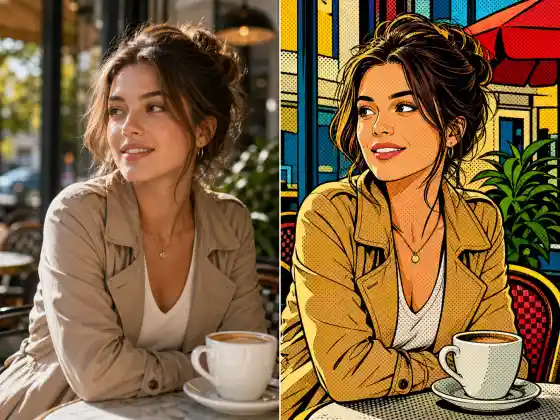
Style illustration, not a verified output from this site. Upload your photo, then choose a preset or describe your own effect.
More image tools
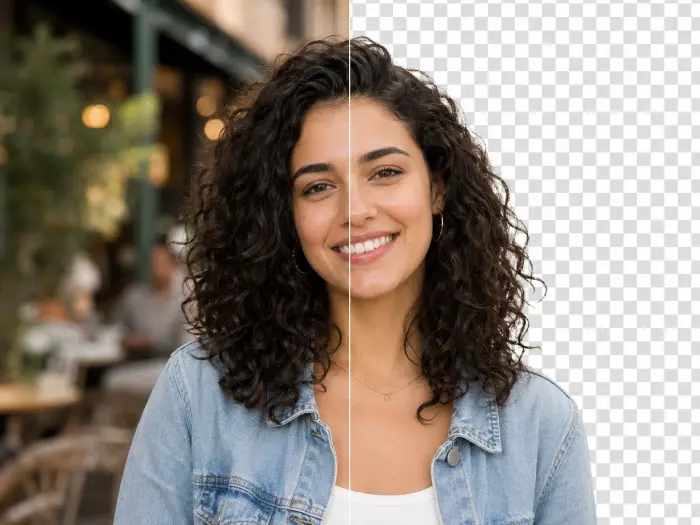
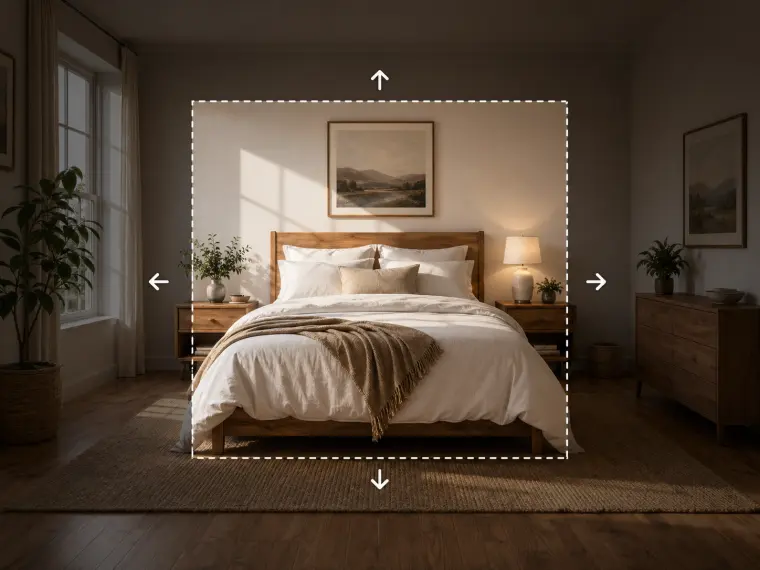
How to create a LinkedIn headshot from a photo
For a profile thumbnail, start with a sharp, front-facing portrait. Choose Business grey, ask for a shoulders-up crop and check that your face stays recognizable at a small size.
- Upload a clear portrait and choose a business, creative-studio or natural-light setting.
- Review the available model settings and the displayed credit cost before submitting.
- Inspect the completed result against your reference, especially: Inspect facial likeness, skin texture and clothing. Do not assume suitability for identity documents.
Usage example
Create a shoulders-up portrait against a neutral grey background, natural skin texture and soft frontal light.
Limitations
Inspect facial likeness, skin texture and clothing. Do not assume suitability for identity documents.
Can I turn a selfie into a professional profile photo?
Use a clear photo of one person with the face fully visible. Mind Forge AI can request a professional portrait with a different background, lighting and clothing. Choose Business grey for a neutral starting point, then compare the face with your original before using it on LinkedIn or a company profile.
A prompt you can adapt
Create a shoulders-up professional portrait with a neutral grey background and soft frontal lighting. Keep the person's facial features and natural skin texture. Use a simple navy blazer and leave space around the head for a square crop.
What to check in the result
Check facial likeness, eyes, teeth, hair edges and clothing. Preview the image as a small circular avatar. Generated portraits can change personal features, and this workflow does not certify passport or official ID photo compliance.
How to choose a model and manage credits
First check that the current model supports the reference-image or local-editing mode you need. Start with a clear source and one output to review composition and details, then consider a higher resolution. Costs vary by model and settings; review the credits displayed in the workspace before submitting.
Choosing a model for products, portraits and local edits
Choose the task first, then check the models and settings offered in that workspace. Product scenes need a clear reference, portraits need a likeness check, and local editing needs a painted region. These are image-model settings configured on this site; the workspace determines the available options.
- Nano Banana 2.1 — 1K / 2K / 4K · Quality options Standard
- Seedream 5.0 Flash — 1K / 1.5K / 2K · Quality options Standard
- GPT Image 2.5 — 1K / 2K / 4K · Quality options Low / Medium / High / Xhigh / Max
Compare results using the same source image
Keep the source, prompt and target dimensions consistent. Record the model, quality, credits, submission time and output. Compare labels and proportions for products, facial features for portraits, and boundaries for local edits. Check suitability before comparing cost. These configuration details do not establish a quality ranking.
Explore the model directory · Check current model credit rates
Edit a selected area of your portrait · View pricing and credits
Frequently asked questions
Can I use this as a passport or official ID photo?
This tool is for creative portraits. It does not certify compliance with passport, identity-document or other official photo requirements.
How are tasks billed?
Review the displayed credit cost before submitting. Batch processing creates and charges separate tasks. Quality and output size affect the cost.